Plan Your Painting Project for Even Coverage and Effective Protection

Plan Your Painting Project for Even Coverage and Effective Protection
A well-executed paint job is about more than just looks—it’s also about protecting surfaces and extending their lifespan. Whether you’re painting your home’s exterior, a living room wall, or a backyard deck, careful planning is the key to a smooth, durable finish. With the right preparation, materials, and workflow, you can achieve both even coverage and long-lasting protection.
Start with a Thorough Surface Assessment
Before you open a can of paint, take time to evaluate the surface you’ll be working on. Are there cracks, peeling paint, moisture damage, or mildew that need attention? A clean, smooth surface is essential for proper paint adhesion.
- Interior walls: Wipe away dust and grease with a damp cloth or mild detergent. Patch holes and cracks with spackle, then sand smooth once dry.
- Exterior wood: Scrape off loose paint, wash with a suitable cleaner, and check for rot or water damage.
- Metal and masonry: Remove rust, dirt, and old coatings, and apply a primer designed for the material.
The better your prep work, the easier it will be to achieve a professional-looking result.
Choose the Right Paint and Tools
Not all paints are created equal. The best choice depends on the surface, the level of wear, and your local climate.
- Acrylic latex paint is ideal for most interior walls and ceilings—it dries quickly, cleans up easily, and resists fading.
- Oil-based or alkyd paints are great for trim, doors, and metal surfaces that need extra durability.
- Exterior paints with UV and mildew resistance help protect siding and outdoor structures from harsh weather conditions.
Invest in quality brushes and rollers—they make a big difference in how evenly the paint spreads. Use a wide roller for large areas and a smaller brush for corners, edges, and detail work.
Plan Your Sequence and Work Rhythm
A successful painting project requires structure. Always start with the hardest-to-reach areas and move systematically across the surface.
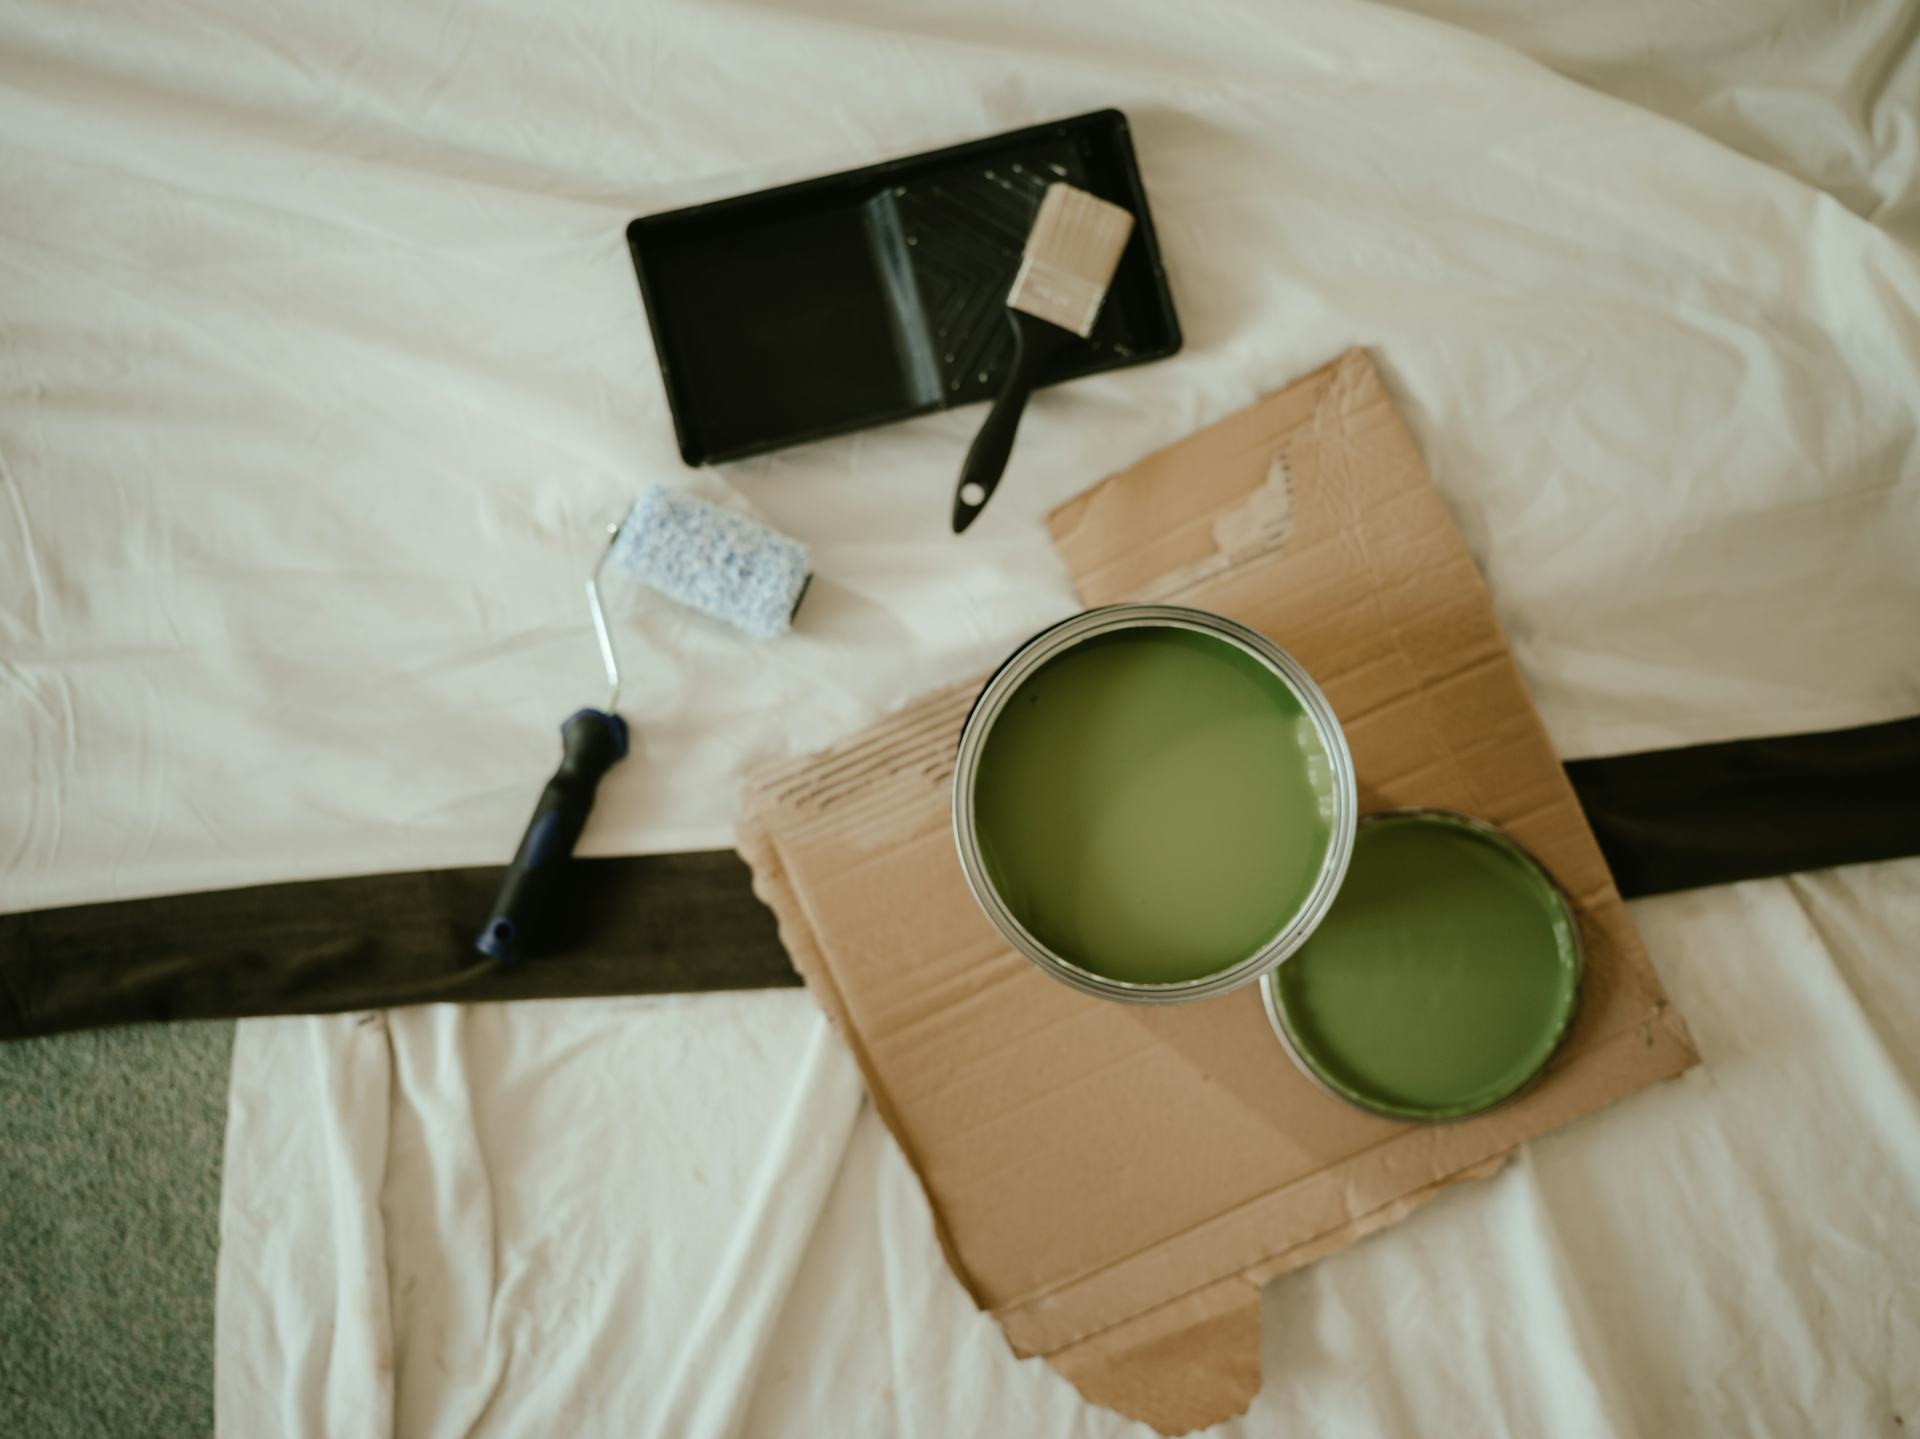
- Protect your surroundings – Cover floors, furniture, and fixtures with drop cloths and painter’s tape.
- Prime if needed – Apply primer to porous or uneven surfaces to ensure better adhesion and color consistency.
- Work in sections – Paint one area at a time, keeping a “wet edge” to avoid visible lap marks.
- Take breaks wisely – Stop at natural breaks like corners or trim lines, not in the middle of a wall.
By organizing your work into stages, you’ll reduce stress and allow proper drying time between coats.
Maintain the Right Conditions While Painting
Temperature and humidity can significantly affect your results. Paint that dries too fast or too slow can lead to streaks or uneven sheen.
- Indoors: Keep the room well-ventilated but avoid strong drafts that can blow dust onto wet paint.
- Outdoors: Paint in mild, dry weather—ideally between 50°F and 85°F—and avoid direct sunlight or high humidity.
Always follow the manufacturer’s recommendations on the paint label for best results.
Allow Proper Drying Time and Finish with Care
Patience is one of the most important tools in any painting project. Most surfaces need at least two coats for full coverage and protection. Allow the recommended drying time between coats, and avoid touching or cleaning the surface until it’s fully cured.
When you’re done, remove painter’s tape while the paint is still slightly wet for crisp, clean lines. Clean brushes and rollers thoroughly so they’re ready for your next project, and store leftover paint in a cool, dry place with the lid tightly sealed.
A Beautiful, Long-Lasting Result
A well-planned painting project is an investment in both appearance and durability. With proper preparation, quality materials, and a thoughtful approach, you can achieve a finish that not only looks professional but also protects your home’s surfaces for years to come.
Take the time to plan carefully—it pays off in the long run, both for your home’s beauty and its protection.